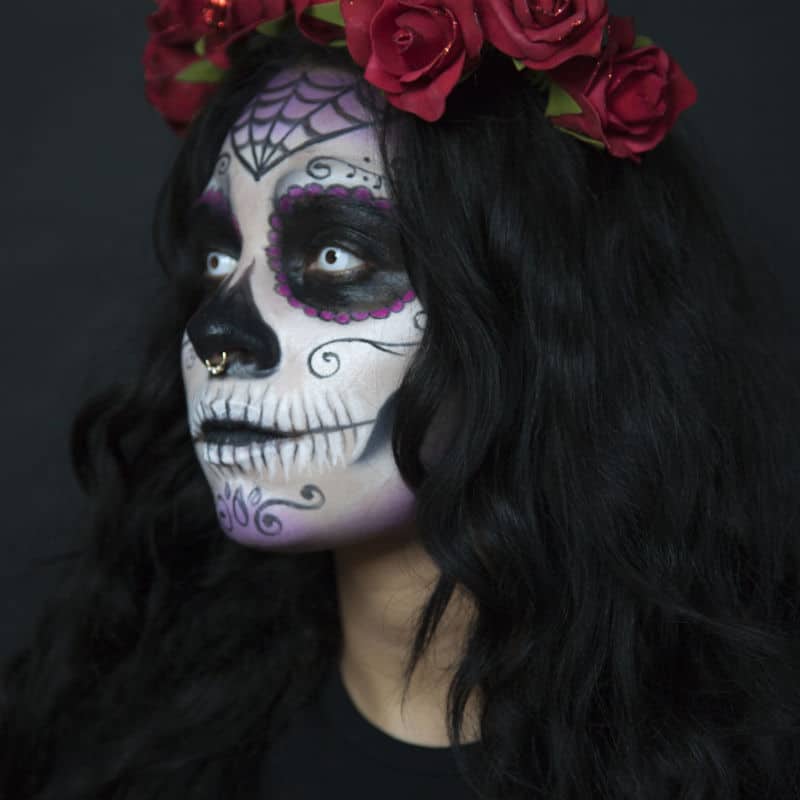
With Halloween fast approaching, we thought it would be fun to do a relatively simple, yet impressive makeup that is great for parties! Erin Winn of The Look Beauty will walk you, step by step, through Day of the Dead Inspired Calavera makeup.
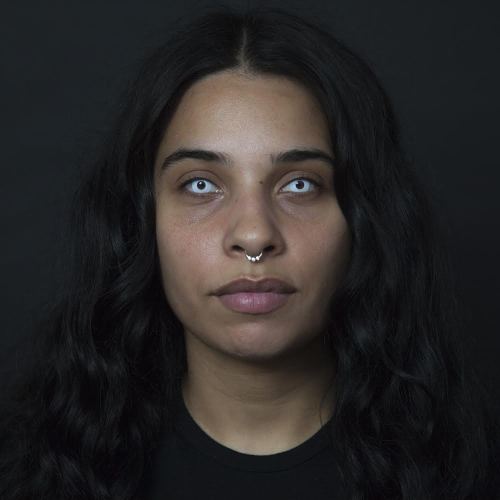
Step 1: Start with a clean dry face. Try to avoid using moisturizer as it can effect the longevity of the makeup. Using white contacts is an easy way to really take this makeup to the next level. If you choose to do this, put them in now.
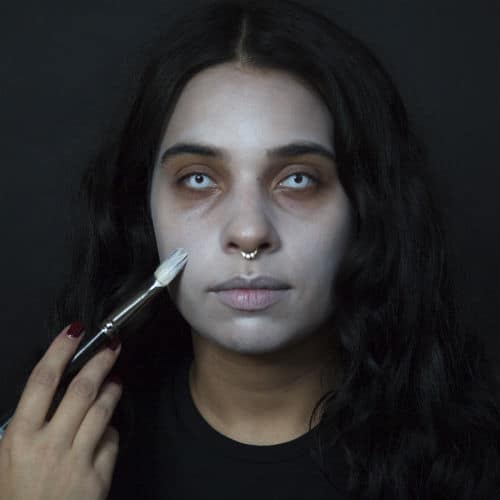
Step 2: Apply a white cream base to the entire face with a sponge or foundation brush. Try not to use too much product as this can get messy. Use just enough to get an almost opaque finish. You can avoid the eye socket and most of the nose as we will be using black on these areas.
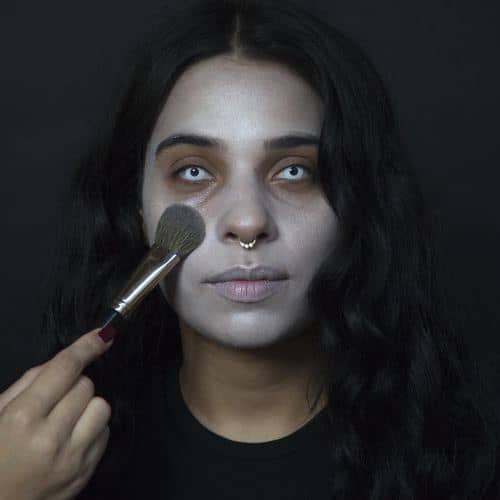
Step 3:Use a sheer powder to set the base. I chose one with a slightly silver cast and a bit of shimmer. On a fair skin tone stick to something white. You can use a powder puff or smaller powder brush.
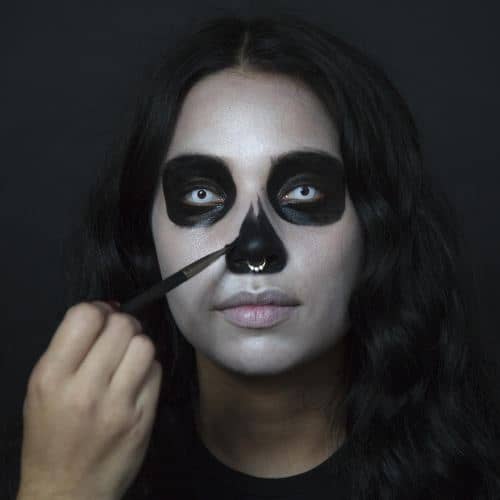
Step 4:Using black cream and medium sized flat brush, fill in the eye area as well as the nose using a shape similar to that depicted in the photo. Use a fine liner brush to perfect the edges. Taking your time to create a crisp edge makes a big difference!
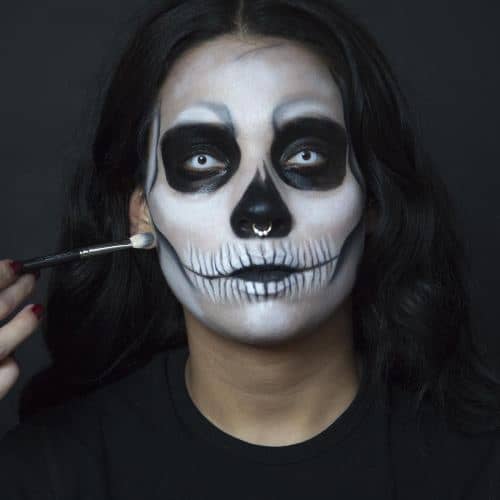
Step 5:You can now start to add in some of the details, such as the outline of the teeth and mandible. You can use the photo as a reference, or a diagram of a human skull can be helpful. Especially if you would like to include some the finer details.

Step 6:Use a white paint or eyeliner to go in between the outline of the teeth and really make them pop. You can also use the white again to go over the high points of the face(cheekbones, jawline) to give more dimension. I also softened the edges of the black shapes on the cheeks.
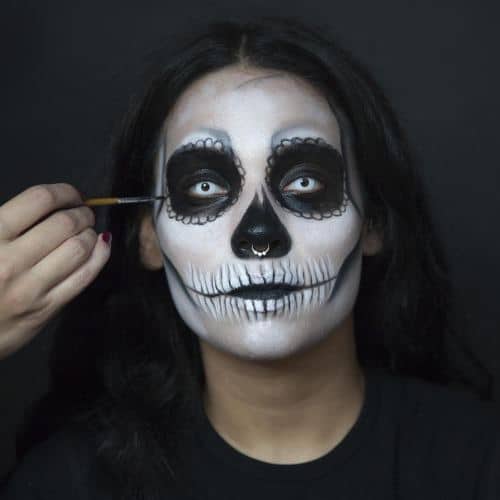
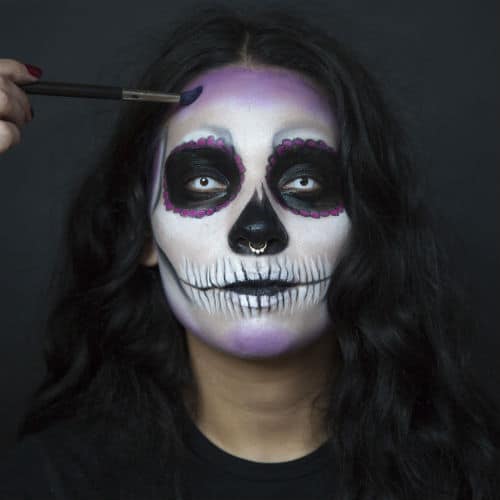
Step 7:Using your fine brush again, create small half circles around the eye socket.
Step 8: Fill in these half circles with the colour of your choice. The brighter the better!
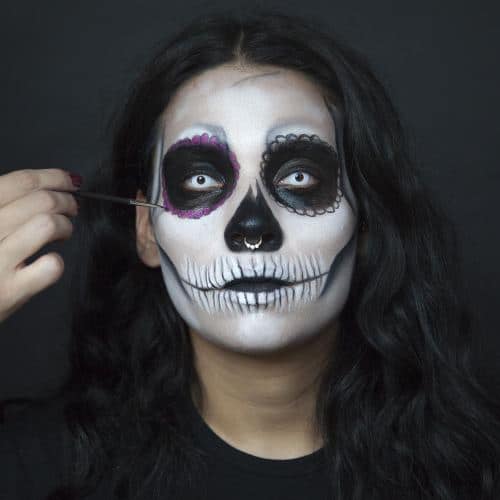
Step 9: Use a bright coloured powder shadow to shade along the hairline, temples, jawline and chin.
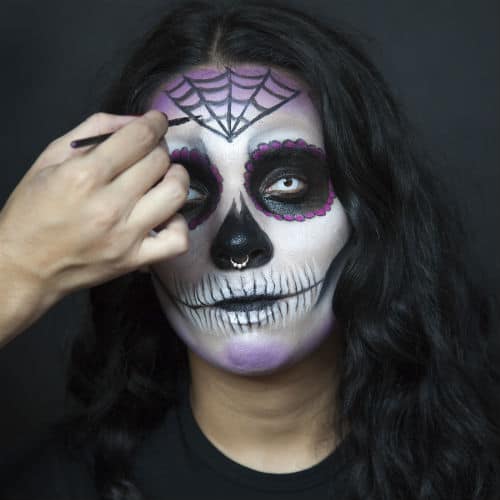
Step 10: Here is where you can get creative. Using your fine liner brush, create designs on your skull. Flowers, spider webs, hearts…its really up to you. Feel free to add crystals and glitter as well. There are lots of great photo references online if you are looking for more ideas.
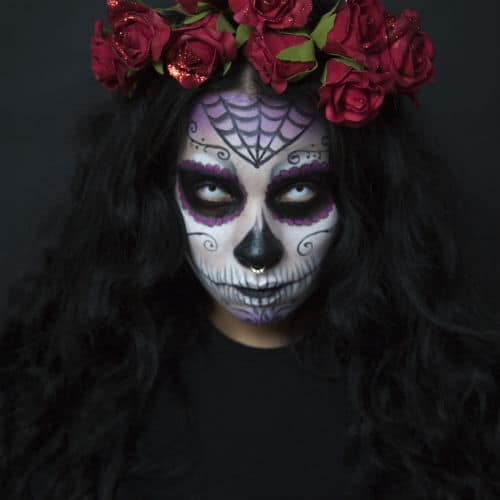
Finish off the look with a crown of brightly coloured flowers and you are set!
Tutorial by Erin Winn of The Look Beauty
Model: Bianca Harris
The Look Beauty are Bianca Harris and Erin Winn. They are Toronto based makeup artists, bloggers and YouTubers with a love for all things unconventionally beautiful. Make sure you subscribe to YouTube.com/TheLookBeauty and check out their tutorials. From perfecting your winged liner, to the basics of contouring they’ve got it covered.
Keep to date on everything we are up to!
Instagram: @thelookbeauty
Twitter: @thelook_beauty
Officiallookbeauty.TUMBLR.com
Thelook-beauty.com
For more tutorials check out www.youtube.com/

