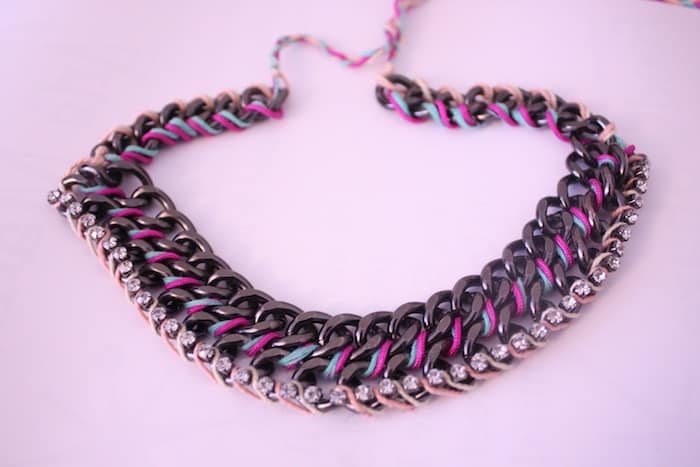
With weather like this, who wants to go outside? This means it’s time for longer, more involved crafts, like this adorable statement necklace. Wear it over sweaters to work and with a scoop neck dress at holiday parties (they’re coming up!):
Supplies:
- heavy chain (I got one metre and it was more than enough)
- rhinestone chain (less than half a metre)
- embroidery floss
- nylon thread (depending on how heavy your chain is you might just be able to use floss)
- tapestry needle (optional to thread the string through)
- super glue
- long nosed pliers (also optional if you get your bead store to cut everything for you)
Steps:
- You’re going to have a long chain and a shorter chain for this necklace, measure your shorter chain on yourself and see how wide you want it to be, once it’s a good length cut it using your long nosed pliers
- Cut your rhinestone chain to measure the same length as the smaller chain
- Using your super glue, glue the rhinestone chain to the bottom of your chunkier chain, leave for 2 minutes to make sure it’s dry
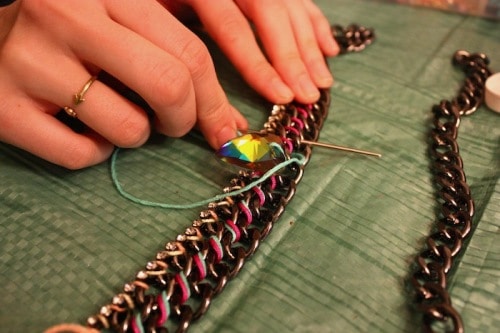
- Using your tapestry needle, thread one colour of embroidery floss and sew the chains together every other row leaving a long tail at both ends of your chain
- Do the same thing with a second colour of thread on the rows that you missed
- Centre your longer chain and sew onto the top of your short chain for every loop using your heavy thread
- Do the same thing with another piece of heavy thread or a piece of embroidery floss – leaving a long tail on both ends
- Sew your remaining threads to the longer chain – two on the top and two on the bottom
- Braid the end of the threads together
- Tie in a double knot and wear it everywhere you go! I like to wear mine on top of a button down shirt 🙂
Limberlina are Kimberley and Laura—they teach people with creative ambitions to make their own mark in and outside of their homes through simple, imaginative and inexpensive DIY projects. Follow them on Facebook, Twitter, Pinterest and Instagram and check out their DIY Kits here!


 Follow Us On Instagram
