20 minutes / Easy / Free!
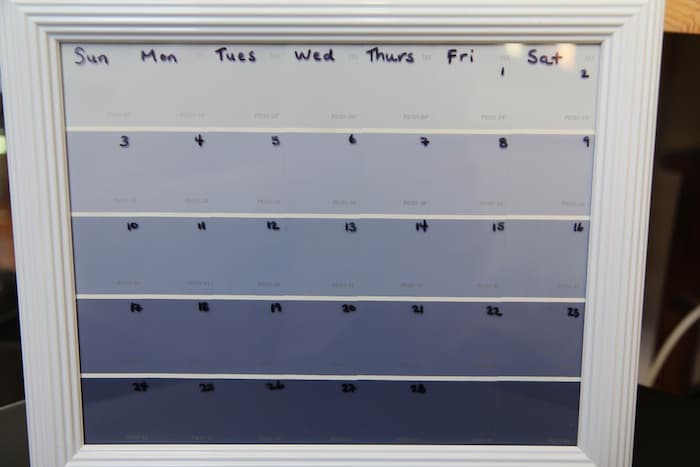
We just can’t stop crafting with paint chips! This time it’s a cute calendar to make organizing your life fun and stylish. We love this craft because it is so low cost and so high value. Just pick out a series of complementary colours or go for all of the same one for an ombre effect like the one pictured here.
Supplies:
- Seven paint chips with five colour block sections each
- Picture frame (dollar store or upcycle one from your home)
- Dry erase marker

Steps:
- Take your picture frame apart into three pieces – outer frame, glass cover and backing
- Tape/glue a piece of white paper to the inside of the frame backing if there will be any spaces between paint chips, if not skip this step
- Measure out the paint chips so they line up, overlap or sit next to one another on the frame backing
- Tape or glue them to the backing as you want them to appear – remember you want seven paint chips across with five colour block sections going down
- Put all pieces of the frame back together and use the dry erase marker to write down the days of the week along the top and the dates in the appropriate areas
Limberlina are Kimberley and Laura—they teach people with creative ambitions to make their own mark in and outside of their homes through simple, imaginative and inexpensive DIY projects. Follow them on Facebook, Twitter, Pinterest and Instagram and check out their DIY Kits here!

